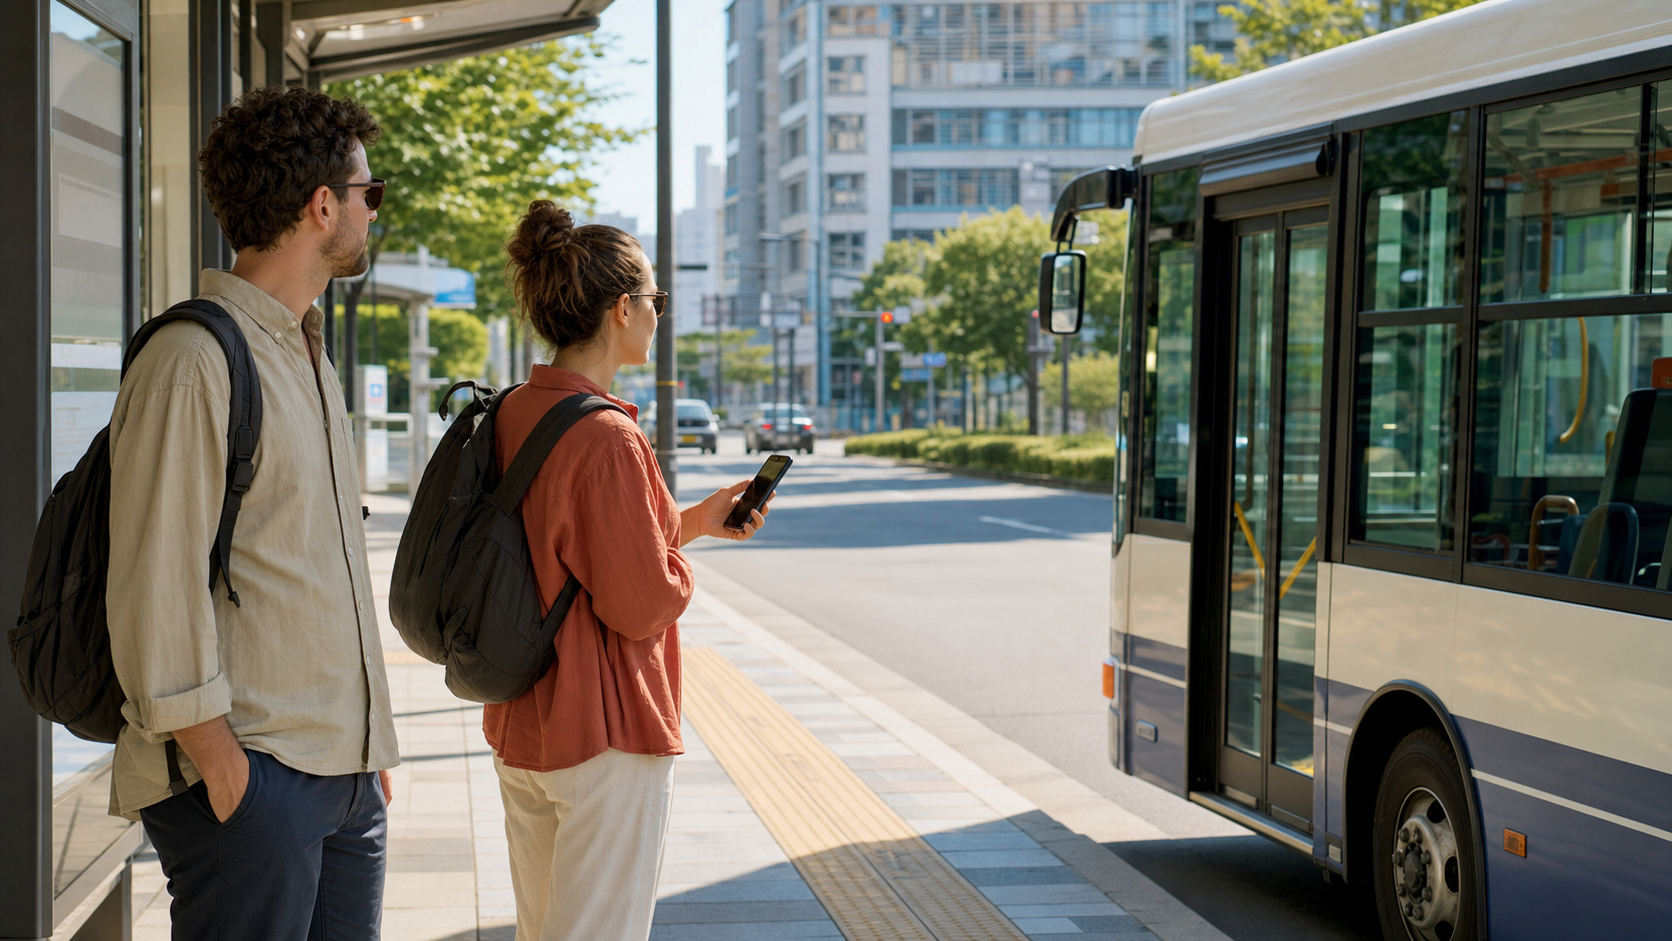
Japan’s trains are fairly consistent: enter through a ticket gate, ride, then exit through another gate. Local buses are different. One bus may ask you to board at the front and pay immediately. Another may ask you to board at the rear, record where you entered, and pay when you leave.
There is no fixed rule that says “tap twice” or “board at the back.” The safe approach is to identify the bus’s payment pattern before you step on. This guide shows the two common patterns, the exceptions that matter, and what to do when you are unsure.
- Quick answer: identify the door, payment time and reader
- The two bus patterns you need to recognize
- Before boarding: confirm the correct bus and direction
- How to ride with Suica, PASMO, ICOCA or another IC card
- How to pay cash and use a numbered ticket
- Tokyo, Kyoto, Osaka and rural buses are not identical
- Getting off without creating a last-second problem
- What to do when something goes wrong
- Plan B when the system is unclear
- Your one-minute bus checklist
- Frequently asked questions
- Do I board a Japanese bus at the front or rear?
- Do I tap my IC card once or twice on a bus?
- Can I use Suica, PASMO or ICOCA on buses throughout Japan?
- What is the small numbered ticket on a Japanese bus?
- What if I forget to tap when boarding?
- Can I charge my IC card on the bus?
- Will the bus give change for cash?
- What should I do if I take the wrong bus?
- Sources and last check
Quick answer: identify the door, payment time and reader
Most Japanese local buses follow one of these patterns:
| What you see | What it usually means | What to do |
|---|---|---|
| Front door opens for boarding | Flat fare, paid when boarding | Enter at the front, tap or pay, then leave from the other door |
| Rear or middle door opens for boarding | Fare paid when exiting | Look for an IC reader or numbered-ticket machine, then pay at the front when leaving |
There are important exceptions. Osaka City Bus uses rear-door boarding and payment on exit, but its official guide says not to tap an IC card when boarding. Kyoto’s ordinary city buses generally use rear boarding and payment on exit, while its Sightseeing Limited Express buses use front boarding and payment on entry.
Before boarding, check four things:
- route number and destination;
- which door opened for boarding;
- whether there is an IC reader or numbered-ticket machine beside that door; and
- whether payment happens now or when you exit.
If you are unsure, show the driver your destination and IC card before paying. Do not copy a rule from another city and assume it applies to this bus.
Information checked August 3, 2026. Fares, routes, boarding procedures and accepted payment methods can change by operator and route. Recheck the actual bus operator before an important connection.
The two bus patterns you need to recognize
Pattern A: front boarding and payment first
This pattern is common on flat-fare urban routes. Tokyo’s Toei Bus guide for the central service area tells passengers to board through the front door, pay when boarding and leave through the rear door.
The usual sequence is:
- Check the route number and destination.
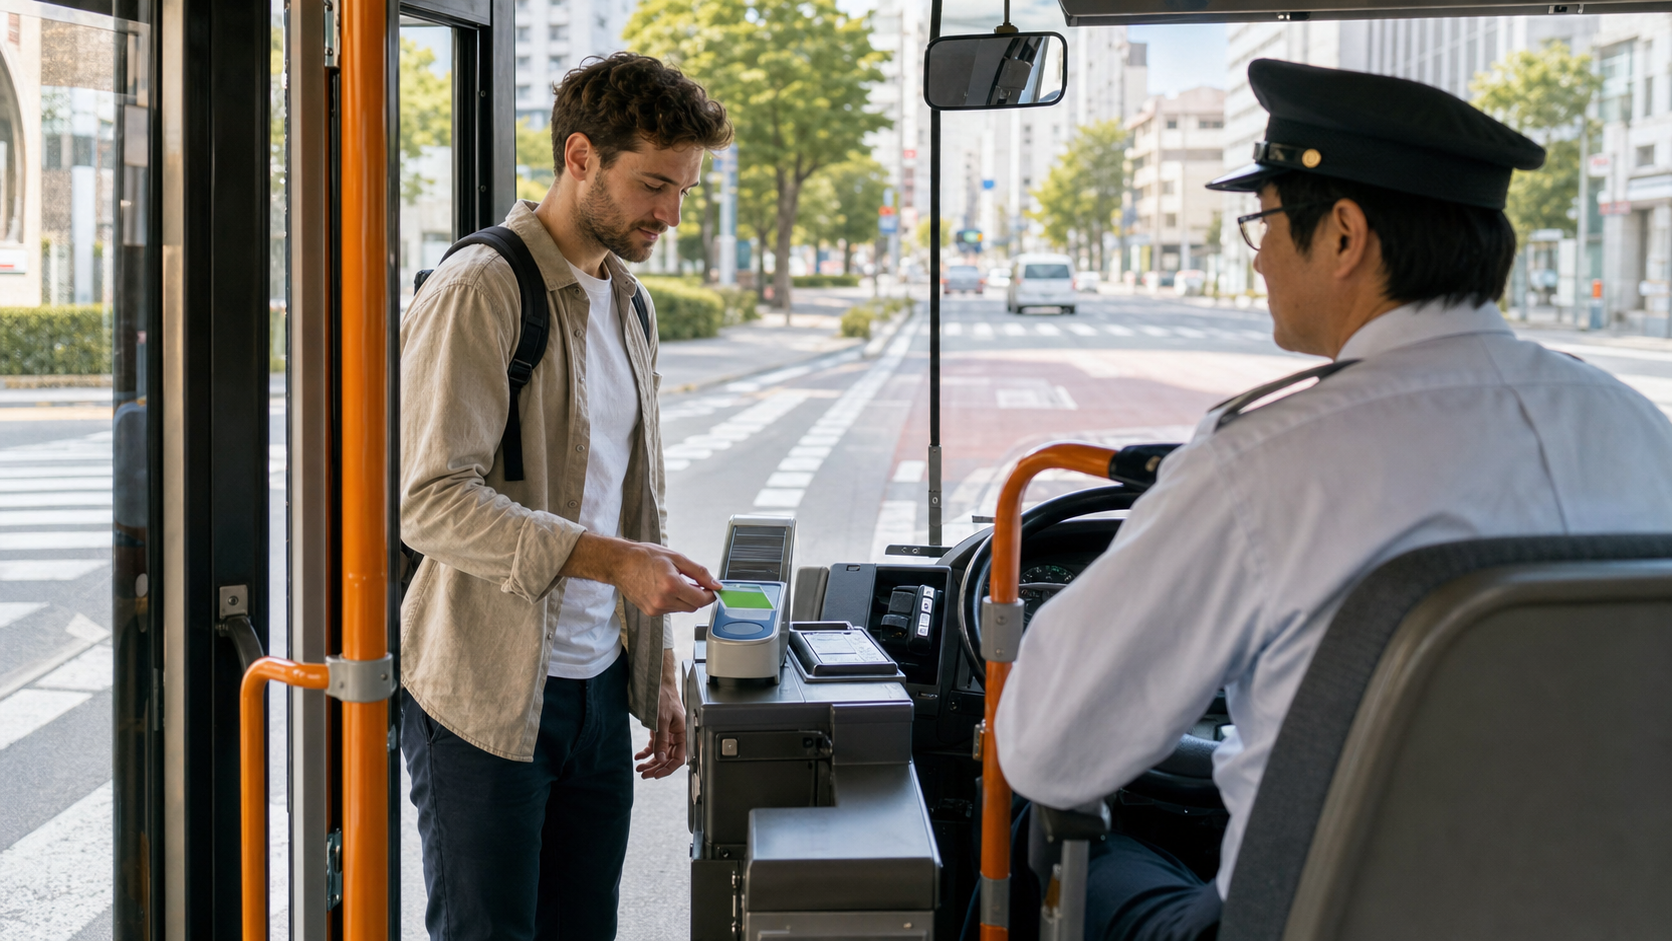
- Board through the front door.
- Tap an accepted IC card or pay the displayed fare.
- Press the stop button before your stop.
- Leave through the rear or middle door.
Because the fare is collected at entry, you normally do not tap again when leaving. Follow the operator’s signs rather than a nationwide shortcut.
Pattern B: rear boarding and payment on exit
This pattern is common on routes where the fare depends on distance, but some flat-fare systems use it too.
The usual sequence is:
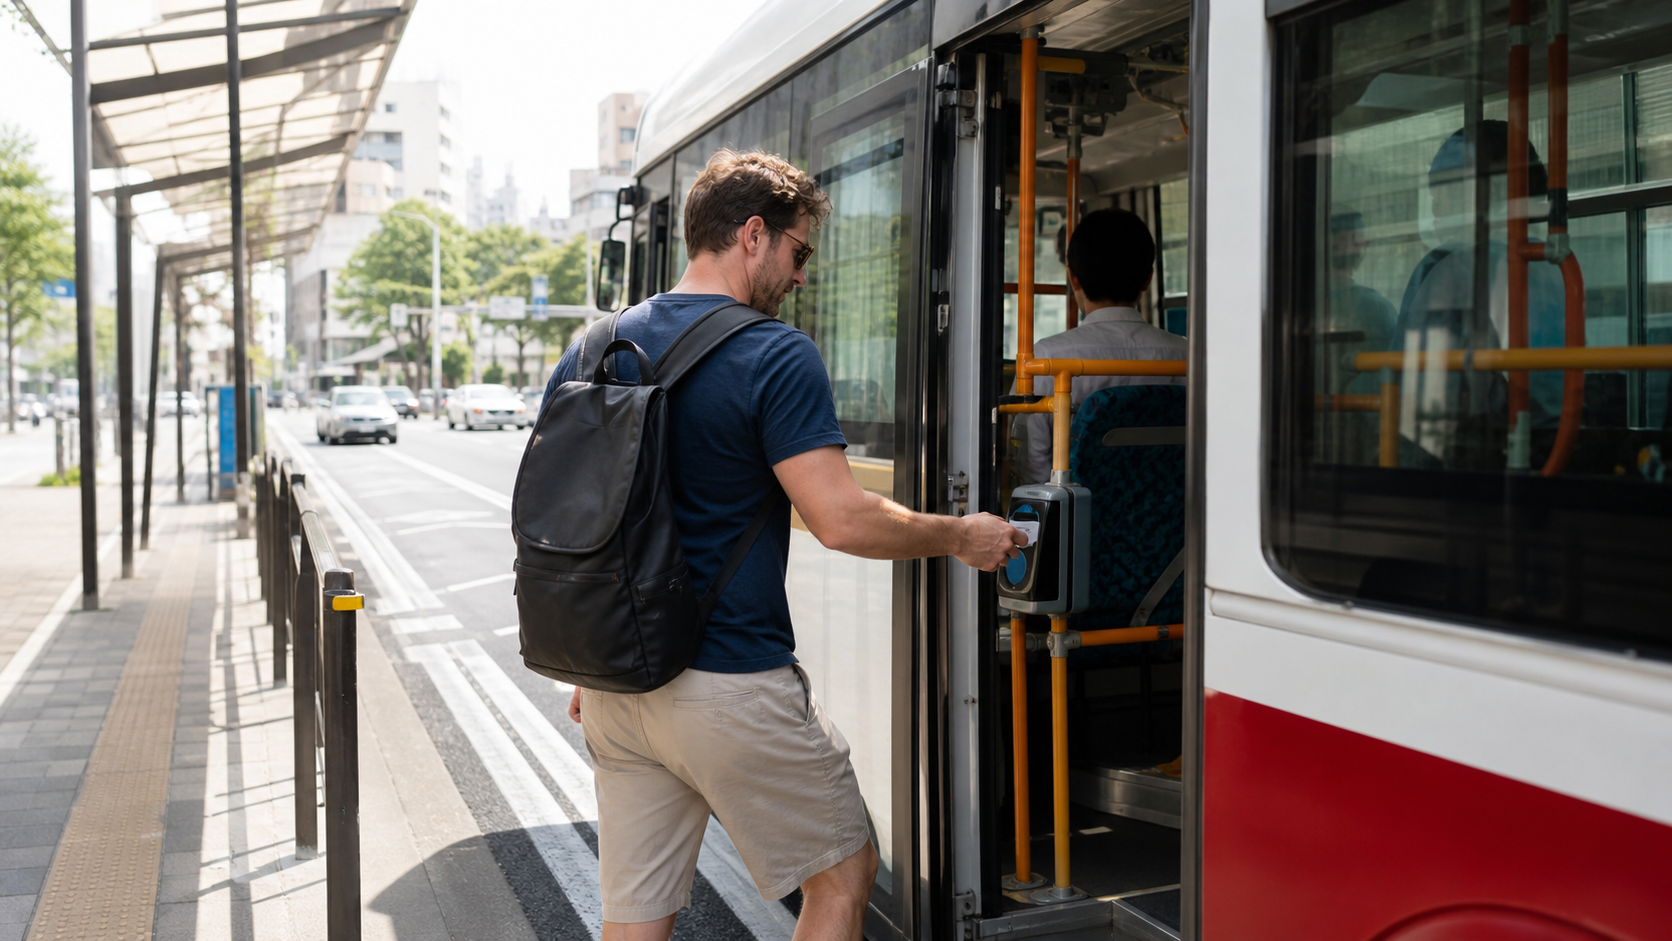
- Board through the rear or middle door.
- Tap the boarding reader if one is provided, or take one numbered ticket per passenger when paying cash.
- Press the stop button before your stop.
- Check the fare display if the route uses distance-based fares.
- Move to the front after the bus stops.
- Tap the same IC card again, or put the numbered ticket and exact cash into the fare box.
- Leave through the front door.
The boarding reader or numbered ticket records where your ride began. If there is no boarding reader and the operator says not to take a ticket, the bus may use a flat-fare variation such as Osaka City Bus.
Before boarding: confirm the correct bus and direction
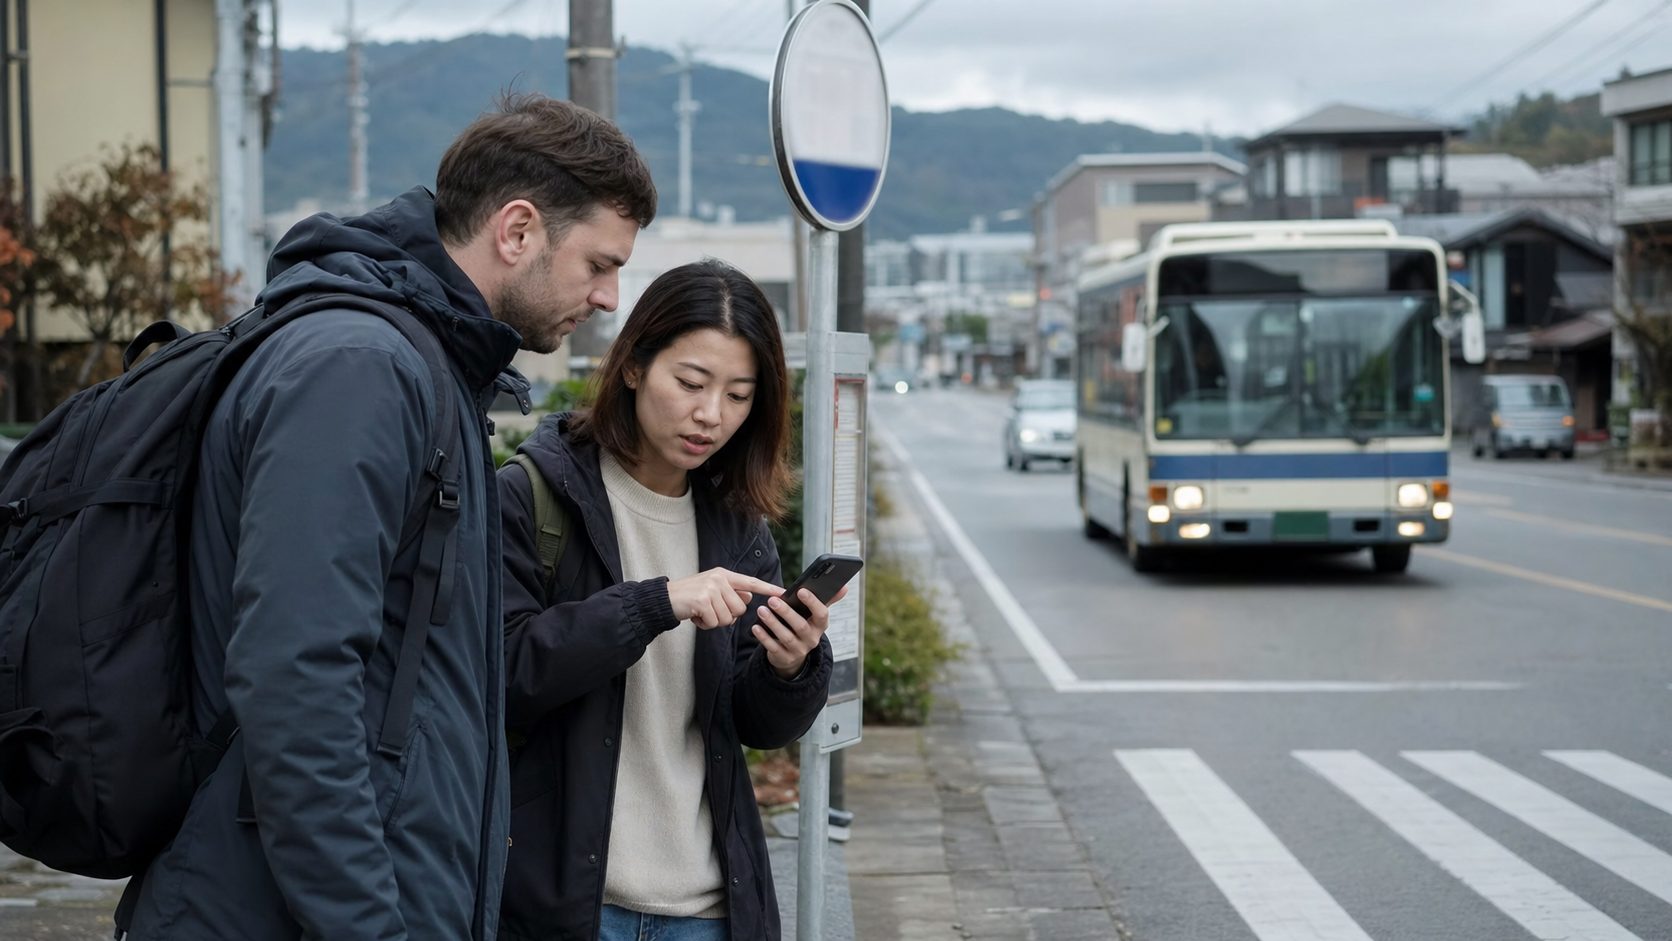
A correct route number can still travel in the wrong direction. At the stop, compare:
- the route number;
- the final destination shown on the bus;
- one or two major stops listed on the stop sign;
- the side of the road; and
- the live route in your map or operator app.
Kyoto City Bus advises passengers to use the route number and destination displays on the front, rear and side of the bus. Osaka City Bus also tells passengers to check the line number and destination as the bus approaches.
For a time-sensitive rural trip, confirm the operator’s current timetable rather than treating a map app as sufficient. Local services can be infrequent, and different companies may share the same stop.
A 15-second boarding check
Use this decision card while the bus approaches:
| Question | If yes | If no or unclear |
|---|---|---|
| Does the route number and destination match? | Join the correct queue | Do not board yet |
| Is an IC logo displayed? | Prepare your charged card | Prepare cash as Plan B |
| Is there a reader beside the boarding door? | Tap once and confirm the sound/display | Look for a numbered-ticket machine or operator instruction |
| Is the driver collecting a flat fare now? | Pay before moving into the bus | Pay when exiting if the signs say so |
Do not hold up the doorway while searching through a bag. Have the card, small cash and destination screen ready before the bus arrives.
How to ride with Suica, PASMO, ICOCA or another IC card
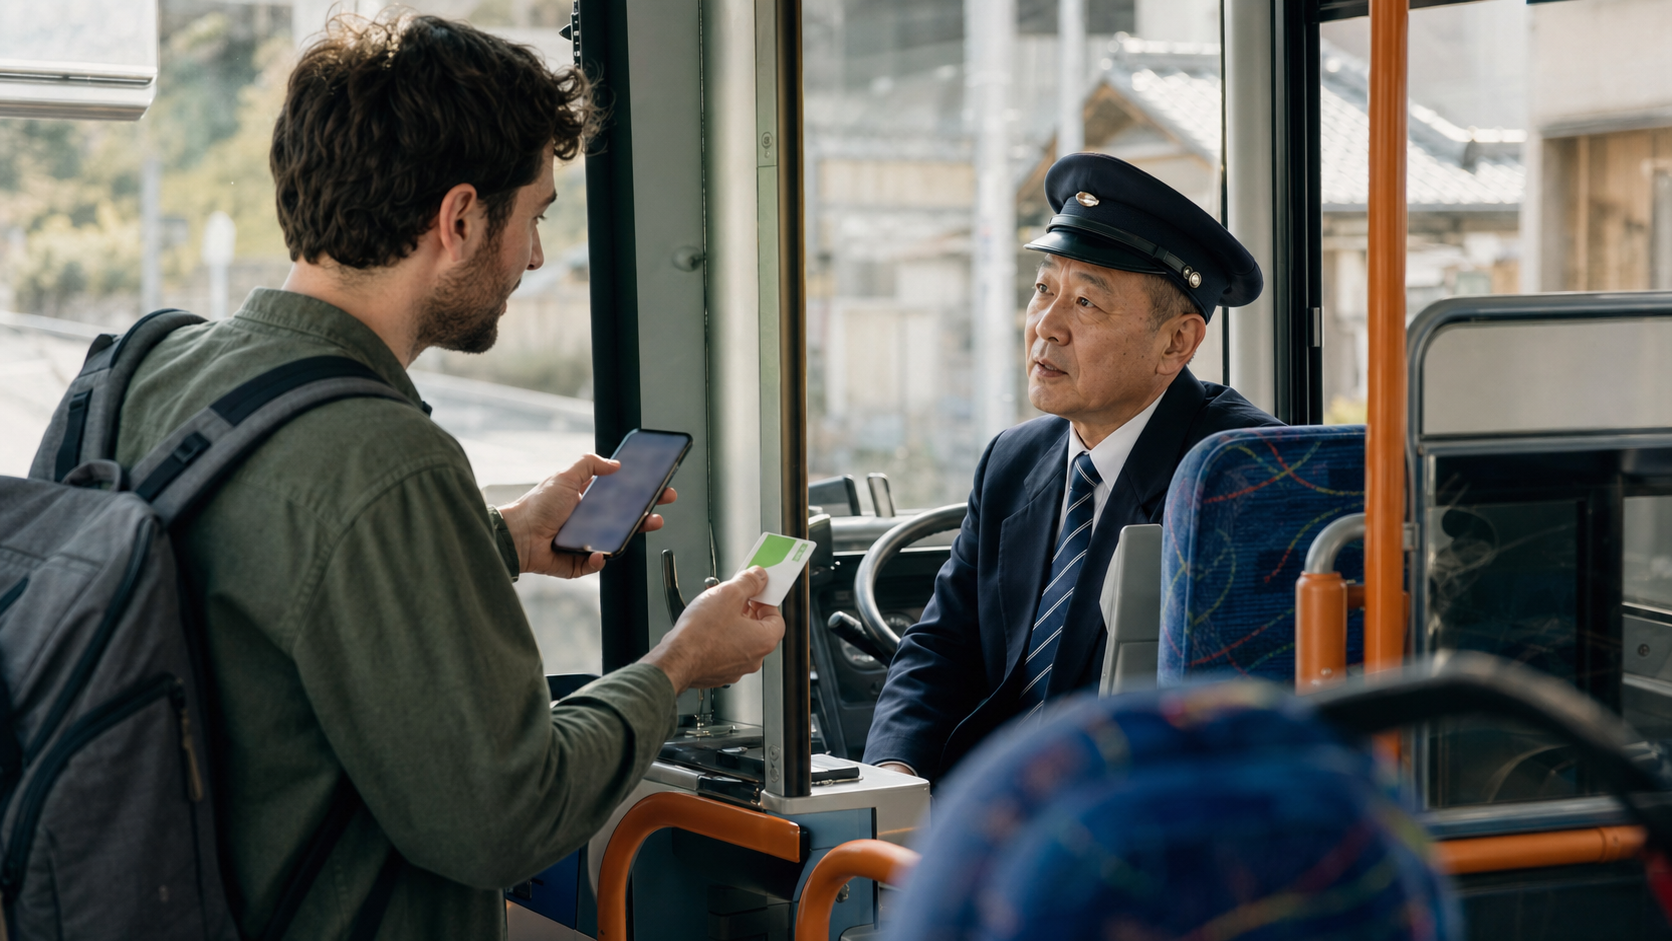
The major interoperable IC cards work on many buses, but acceptance is not universal. JNTO advises travelers to check for the IC symbol at the stop or entrance. Rural operators and community buses may use cash, a local card, contactless credit cards or another system.
If there is a boarding reader
- Touch the card to the reader once.
- Wait for the confirmation sound or display.
- Keep the same card ready for the exit reader.
- At your stop, touch the same card to the reader beside the driver.
Kyoto’s non-flat-fare instructions specifically require passengers to use the same card at boarding and exit. Do not switch between a physical card and a phone wallet during one ride.
If there is no boarding reader
Do not tap a random payment reader merely because another route required two taps. Check the operator’s instruction. Osaka City Bus, for example, tells IC-card passengers not to tap when boarding and to pay when exiting.
If your balance is too low
Tell the driver before trying repeatedly. Kyoto’s official instructions say that a passenger with insufficient IC balance can pay the remaining fare in cash. Other operators may allow a limited onboard recharge, but the accepted banknotes and process vary. Toei Bus, for example, limits onboard IC charging to 1,000-yen notes.
The more reliable plan is to charge your card at a station or convenience store before boarding and still carry small cash.
How to pay cash and use a numbered ticket
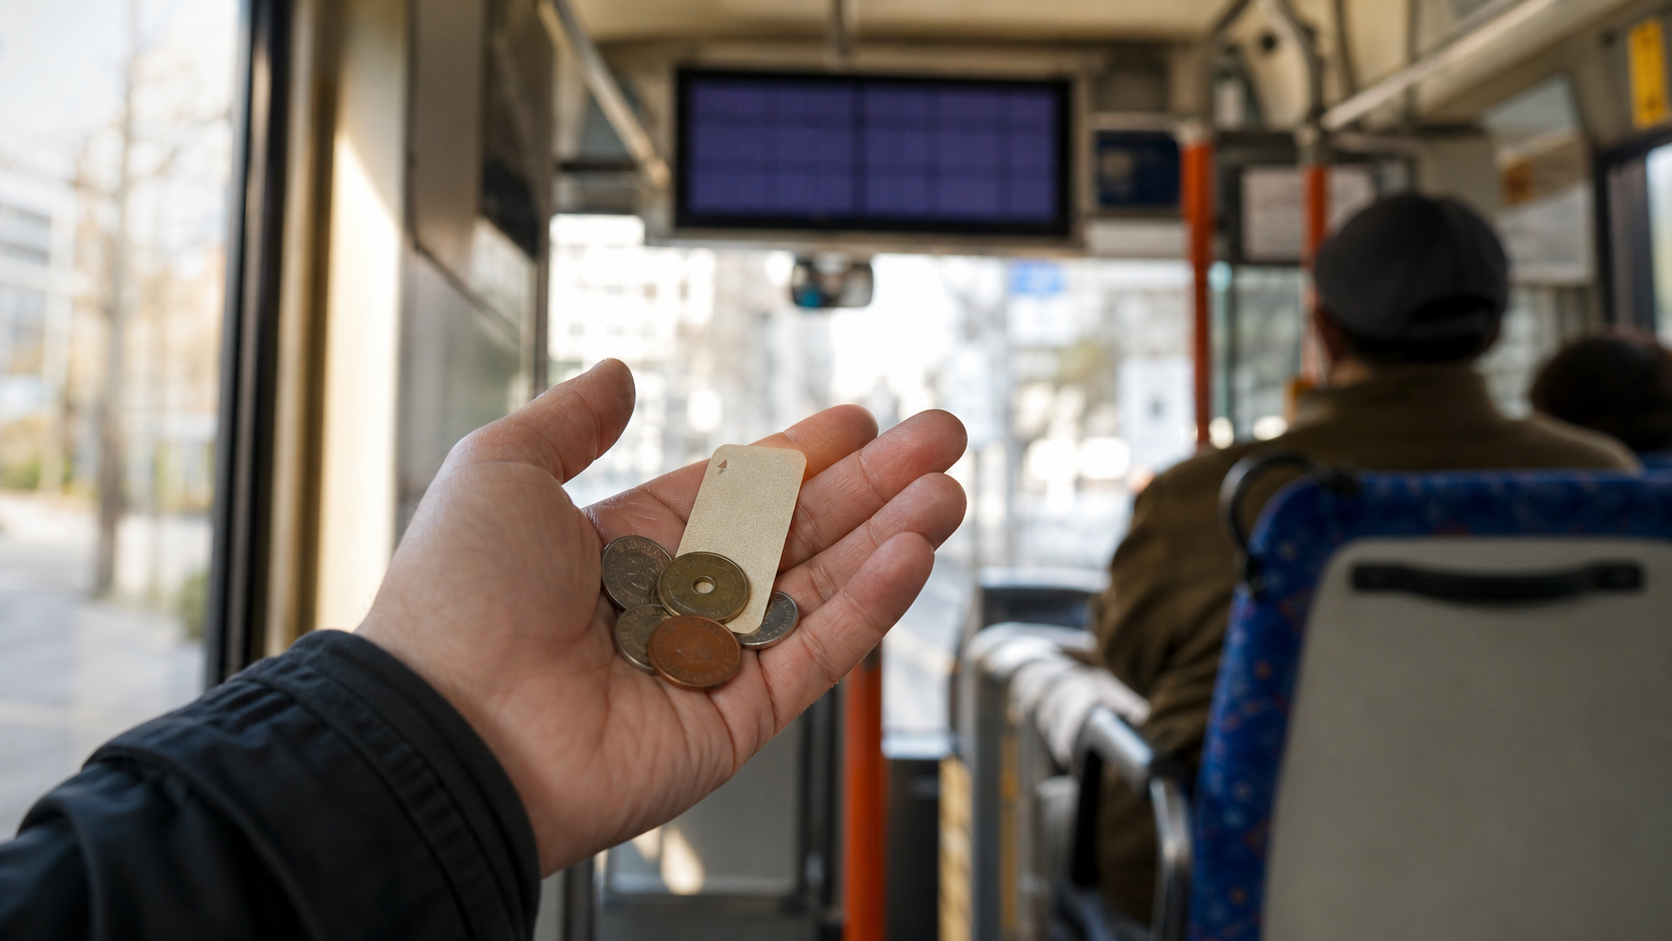
Distance-based buses often use a small paper ticket called a seiriken. The number identifies the fare zone where you boarded; it is not a reserved-seat ticket.
When you board
- Enter through the designated rear or middle door.
- Take one numbered ticket per passenger from the machine beside the door.
- Keep it until you leave.
If no ticket comes out, check whether the route is flat fare. Do not take several tickets. Ask the driver if the system is unclear.
Before your stop
- Press the stop-request button.
- Find your ticket number on the fare display near the front.
- Prepare the corresponding fare.
- Use the onboard change machine early if the operator provides one.
Many fare boxes do not treat a large banknote as an automatic payment. The change slot and fare slot can be different. Follow the labels or ask the driver rather than dropping money into an uncertain opening.
When you leave
Put the numbered ticket and the exact fare into the fare box beside the driver. Tanabe City Kumano Tourism Bureau’s local-bus guide uses this process for its distance-based rural services and warns that payment options vary among operators.
Tokyo, Kyoto, Osaka and rural buses are not identical
This comparison is the central rule of the guide: learn the pattern, not one universal ritual.
| Example checked August 3, 2026 | Board | Pay | IC-card action |
|---|---|---|---|
| Toei Bus in central Tokyo | Front | When boarding | Tap when boarding; normally no exit tap |
| Ordinary Kyoto City Bus | Rear | When exiting | Follow the route’s flat/non-flat instructions; non-flat routes record boarding and exit |
| Kyoto Sightseeing Limited Express EX100/EX101 | Front | When boarding | Pay or tap at entry under the current official guide |
| Osaka City Bus | Rear | When exiting | Official guide says no boarding tap; pay or tap at exit |
| Rural Kumano-area example | Usually rear | When exiting | Acceptance varies by operator; cash and numbered tickets remain important |
These are examples, not a permanent national table. Procedures can differ outside the cited operators and routes, including on community buses, airport buses, highway buses and sightseeing services. Check the actual operator when the ride matters.
Getting off without creating a last-second problem
When your stop is announced or appears on the display, press a stop-request button. Pressing it tells the driver that someone wants to leave.
Stay seated or hold a rail until the bus has stopped. Kyoto and Toei both warn against unsafe movement while the vehicle is moving or braking. After it stops:
- move toward the exit shown by the operator;
- have your card, ticket and cash ready;
- complete payment once;
- take your belongings; and
- step away from the vehicle before checking your phone.
Keep suitcases, backpacks and strollers out of the aisle and door area. Vehicle layouts and stroller rules vary, so follow the driver and the operator’s accessibility instructions.
What to do when something goes wrong
You forgot to tap when boarding
Tell the driver where you boarded before tapping at the exit. Kyoto’s official non-flat-fare guide gives this exact recovery step. Do not choose a boarding point yourself on the fare machine.
Useful phrase:
乗るときにタッチしませんでした.
Noru toki ni tacchi shimasen deshita.
I did not tap when I boarded.
The IC card is not accepted
Stop retrying after the reader clearly rejects it. Show the driver the card, then use cash or the operator’s accepted alternative. A nationwide interoperable card is not proof that a particular local bus has a compatible reader.
You do not have exact cash
Show the driver your available banknote before inserting it anywhere. If the bus has a change machine and accepts the note, change it first. Toei Bus limits cash fare payment to coins and 1,000-yen notes; rural rules differ.
You boarded the wrong direction
Do not jump off after the doors close or ask for an unsafe stop. Get off at the next normal stop, move to the opposite-direction stop, and recalculate the route. If the service is infrequent, check the next departure before leaving a staffed or sheltered location.
You are blocking the wrong door
Watch where other passengers are entering and leaving, then follow the arrows or driver’s direction. Move farther into the bus after boarding so the door can close.
Plan B when the system is unclear
Use this fallback ladder:
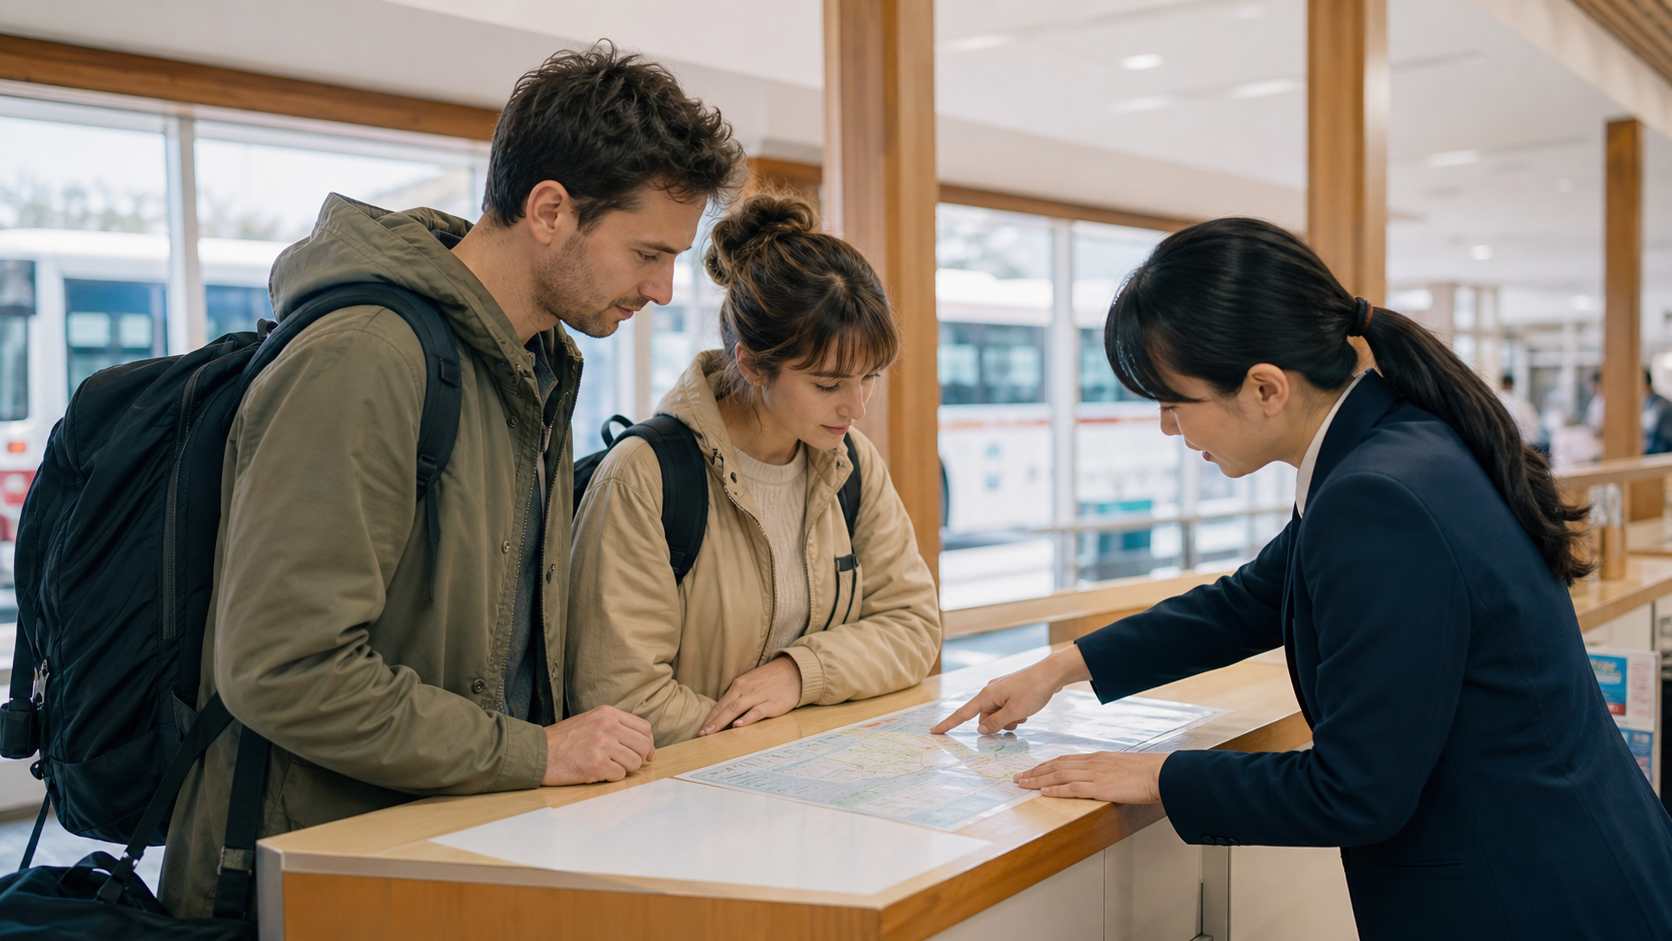
- Show the destination: display the place name, bus stop and route number on your phone.
- Show the payment method: hold up the IC card and ask, “IC card okay?”
- Carry cash: keep several coins and a 1,000-yen note separate from larger bills.
- Wait for the next bus: if the destination or direction does not match, do not board from anxiety.
- Protect the critical connection: for a last bus, rural trailhead, airport transfer or reserved event, verify the operator’s timetable and save a taxi or rail alternative before departure.
Two useful questions are:
このバスは___へ行きますか?
Kono basu wa ___ e ikimasu ka?
Does this bus go to ___?
ICカードは使えますか?
IC kādo wa tsukaemasu ka?
Can I use an IC card?
If your phone battery is becoming a risk, save the destination and return route first, then use the phone charging Plan B.
Your one-minute bus checklist
- Route number and destination match.
- I am waiting on the correct side of the road.
- I know whether to board at the front or rear.
- I checked for an IC reader or numbered-ticket machine.
- My IC card has enough balance.
- I have small cash as Plan B.
- I will press the stop button before my stop.
- I know whether payment happens now or when I exit.
For route planning, use the Google Maps guide for Japan. For choosing and charging a transit card, see the Suica, PASMO and ICOCA guide. If cash is unfamiliar, open the Japanese yen guide. For Tokyo rail connections, use the Tokyo trains guide.
Frequently asked questions
Do I board a Japanese bus at the front or rear?
It depends on the operator and route. Front boarding often means a flat fare paid at entry. Rear or middle boarding often means payment at exit. Check which door opens, the operator’s sign and the payment equipment beside the door.
Do I tap my IC card once or twice on a bus?
Tap once on pay-at-entry buses. On distance-based pay-at-exit buses, you commonly tap when boarding and again when leaving. Some rear-boarding flat-fare systems, including Osaka City Bus under its current guide, tell passengers not to tap at boarding. Follow the actual operator.
Can I use Suica, PASMO or ICOCA on buses throughout Japan?
No. The major cards work on many urban and regional buses, but some local and community buses use cash, a local card or another payment method instead. Check for the IC logo and keep cash as a backup.
What is the small numbered ticket on a Japanese bus?
The numbered ticket records the fare zone where a cash-paying passenger boarded. At the destination, match its number to the fare display, then place the ticket and exact fare into the fare box.
What if I forget to tap when boarding?
Tell the driver where you boarded before paying. On a distance-based route, the driver may need to set or confirm the correct fare. Do not pretend to have boarded at a different stop or select a fare yourself.
Can I charge my IC card on the bus?
Some operators allow limited onboard charging, often with a 1,000-yen note, while others do not. Charging before boarding at a station or convenience store is more reliable and avoids delaying the bus.
Will the bus give change for cash?
It depends on the fare box. Some buses have a separate change machine; some flat-fare systems return change; many distance-based systems expect exact fare. Ask the driver before inserting a large banknote.
What should I do if I take the wrong bus?
Get off safely at the next normal stop, check the return direction and recalculate the route. If buses are infrequent, verify the next departure and keep a rail or taxi Plan B rather than continuing farther in the wrong direction.
Sources and last check
Major claims were checked on August 3, 2026 against:
- JNTO: How to travel by train and bus in Japan
- Toei Transportation: How to Take the Toei Bus
- Toei Transportation FAQ
- Kyoto City Bus: How to Take the Bus
- Kyoto City Bus: Non-Flat Fare IC Card Instructions
- Osaka City Bus: How to Ride the Bus
- Tanabe City Kumano Tourism Bureau: How to Ride a Local Bus
Fares, routes, boarding procedures, ticket products and accepted payment methods can change. Use the operator’s current page for the specific bus you plan to ride.

Comments