
Visit Japan Web is Japan's free official web service for entering immigration and customs information before arrival. It can reduce form-filling at the airport, but it is not a visa and not a guarantee of faster entry. Paper forms remain available.
The part that confuses many travelers is the 2D code, often called a QR code. Immigration and customs arrival codes have been unified since 2024, but each traveler still needs an individual record and must complete airport procedures one by one.
This guide shows what to prepare, which code to display and what to do if the code is missing, outdated or unreadable.
- Quick answer
- Is Visit Japan Web mandatory?
- Use the official site and avoid fake QR-code services
- What to prepare before your flight
- The correct setup order
- Which QR code should you show?
- Family members and children: prepare each traveler
- What happens at the airport?
- If the code will not display or scan
- Paper Plan B for immigration and customs
- Do not confuse the arrival code with the tax-free code
- A final pre-flight check
- FAQ
- Is Visit Japan Web mandatory for entering Japan?
- Is Visit Japan Web free?
- Do immigration and customs use the same QR code?
- Can I use a screenshot of the Visit Japan Web QR code?
- Does each family member need a QR code?
- What if my Visit Japan Web QR code does not appear?
- What if the QR code will not scan at the airport?
- Is the Visit Japan Web tax-free QR code the same as the arrival code?
Quick answer
- Start from the Digital Agency's official Visit Japan Web page. Do not pay a third party to create an arrival QR code. The service and Japan Customs arrival declaration are free.
- Prepare your passport, airline information and email address. Register the traveler and arrival information before your flight while you have stable internet.
- Complete both the relevant immigration entry and customs declaration. A current unified 2D code is created after the required information is entered.
- Prepare one current code for each traveler. Family members and group members are processed one by one at airport terminals and kiosks.
- Save a current screenshot after checking the information. The Immigration Services Agency and joint-kiosk guidance permit screenshots, but you must edit the record and create a new code if the registered information changes.
- Keep a paper Plan B. A paper foreign-national ED card and a paper customs declaration remain available if the web service, phone or scanner does not work.
Information checked August 4, 2026. Visit Japan Web screens, links, airport equipment and operating conditions can change. Follow live instructions from the Digital Agency, Immigration Services Agency, Japan Customs and airport staff.
Is Visit Japan Web mandatory?
No. The arrival procedures are required, but using Visit Japan Web is recommended rather than mandatory.
For a new foreign entry, the Immigration Services Agency requires a foreign-national arrival record, also called an ED card. Its current guidance recommends electronic submission through Visit Japan Web, while keeping a paper ED card available. You still undergo immigration inspection even after submitting the information online.
Japan Customs also requires entering passengers to submit a customs declaration. Electronic declaration through Visit Japan Web is recommended, but the existing paper declaration can still be used.
The practical choice is:
| Your situation | Best route |
|---|---|
| You have a working phone and stable internet before departure | Complete Visit Japan Web before the flight and save a current screenshot |
| The official service page or login path is temporarily unavailable | Retry later from the Digital Agency page; do not move to a paid third-party site |
| You cannot use the web service comfortably | Use the paper ED card and customs declaration at arrival |
| Your phone fails after landing | Ask airport staff for the paper forms or the correct staffed procedure |
Visit Japan Web is a convenience route. It does not decide whether you may enter Japan and does not exempt your baggage from inspection.
Use the official site and avoid fake QR-code services
The safest entry point is the Digital Agency's Visit Japan Web information page. It explains the service and links onward to the official login route.
This matters because Japan Customs warned in May 2026 that fake Visit Japan Web sites and private assistance sites had asked travelers for money or personal information. Japan Customs states that Visit Japan Web is free and that it charges no fee for the arrival customs declaration.
Stop if a page:
- asks for a processing fee to create the arrival code;
- claims payment is required by Japan Customs;
- reached you through an unsolicited message or advertisement;
- uses a domain you cannot verify through a Japanese government page; or
- requests more personal or payment information than the official process explains.
If the official onward login path returns an error, that is not a reason to pay another site. Start again from the Digital Agency information page, retry later, and keep the paper forms as your arrival fallback.

What to prepare before your flight
The Digital Agency lists an airline ticket, passport and email address as the basic preparation items. In practice, complete the setup where you can carefully compare the information with your travel documents.
Use this checklist:
- the passport you will use to enter Japan;
- your current flight or airline itinerary;
- an email address you can access;
- the arrival details requested by the official service;
- a charged smartphone or tablet for displaying the code; and
- a secure way to keep a current screenshot available offline.
You may register information using a computer, but the Digital Agency says the 2D code must be presented on a smartphone or tablet. Do not plan around a laptop display at the airport.
If your passport is lost or replaced before travel, do not assume the old record is still correct. Update the relevant information and create a new code. For an emergency after arrival, see Carry Your Passport in Japan: Lost-Passport Plan.
The correct setup order
Exact screen names can change, but the decision sequence remains simple:
- Open the Digital Agency service page and follow its official Visit Japan Web link.
- Create or access your account through the official service.
- Register the traveler who will use the record.
- Register the relevant arrival trip.
- Complete the foreign-national immigration entry, when applicable.
- Complete the customs declaration.
- Display the current arrival 2D code and verify that the trip and traveler are correct.
- Save a current screenshot once the information is final.
Do not treat “account created” as “arrival setup complete.” The useful checkpoint is that the correct traveler has a current arrival code after completing the required entries.

Which QR code should you show?
The arrival code for immigration and customs was unified on January 25, 2024. Japan Customs says older codes made with the discontinued Customs Declaration App are no longer valid for electronic arrival declarations.
The current rule is therefore straightforward: show the current Visit Japan Web arrival 2D code linked to the correct traveler and trip. Do not rely on an old customs-app code, a code from a previous trip or a screenshot made before you corrected the registered information.
Use this decision table:
| What you see | What it means | What to do next |
|---|---|---|
| A current arrival code for the correct traveler and trip | Ready for the electronic route | Keep the live code or current screenshot accessible with the passport |
| No code appears | One or more required entries may be incomplete, or the service may not have loaded correctly | Reopen the trip and check the immigration/customs sections; retry on a stable connection |
| The code belongs to another family member | It cannot stand in for your individual record | Switch to the correct traveler before approaching the scanner |
| You changed passport or arrival information after saving the screenshot | The saved code may be outdated | Edit the record and create a new code, then replace the old screenshot |
| The code is visible but the scanner will not read it | Screen brightness, glare, zoom, damage or an outdated code may be interfering | Open the live code, increase brightness, remove glare and ask staff before repeating many times |
| The phone has no connection | A current screenshot may still work | Show the current screenshot; if staff cannot accept it, use the staffed or paper route |
| The phone is dead, lost or inaccessible | The electronic display route is unavailable | Ask for the paper ED card and customs declaration or follow staff instructions |
A screenshot is a fallback for display, not permission to ignore later changes. The Immigration Services Agency specifically says that changed registered information requires correction and a newly created code.
Family members and children: prepare each traveler
You may organize accompanying family information in Visit Japan Web, but the airport procedure is still individual.
Current integrated-kiosk guidance says that each passenger, including family and group members, completes the terminal procedure one by one. Immigration guidance for joint kiosks likewise says each accompanying family member needs a Visit Japan Web code and individual processing.
Before joining the line:
- confirm that each traveler has a separate current record/code;
- label screenshots by traveler without exposing passport data to other people;
- keep each passport matched to the correct code;
- let one adult manage a child's phone or screenshot when necessary; and
- follow staff directions when a child cannot use the kiosk equipment.
Integrated kiosks currently list a height restriction: Japan Customs says people under 135 cm are not eligible to use that system. Customs e-Gate guidance separately notes that a child under 100 cm may pass through that gate with a family member. These are different pieces of equipment, so do not combine the two height rules.

What happens at the airport?
The route depends on the airport, terminal, passport and current equipment. Arrival sequences can differ by airport and terminal.
Integrated immigration and customs kiosks
Japan Customs currently lists integrated kiosks at:
- Narita International Airport, Terminal 3;
- Haneda Airport;
- Kansai International Airport; and
- Fukuoka Airport.
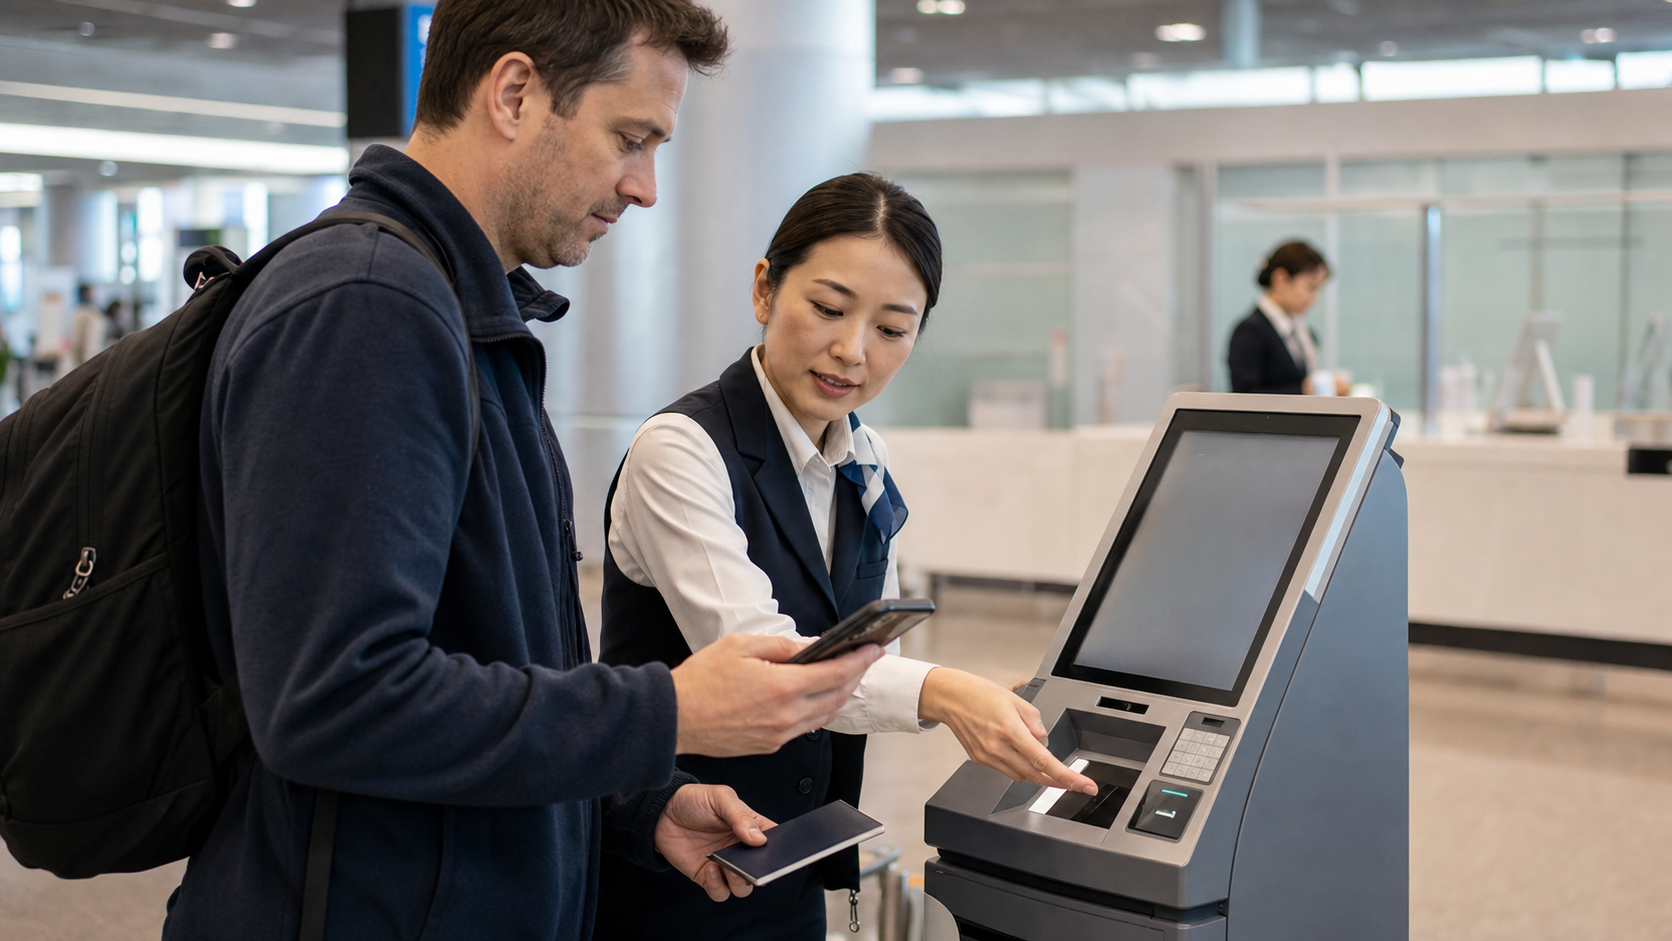
At an integrated kiosk, the traveler scans the Visit Japan Web 2D code and passport and follows the on-screen instructions. The system collects information used for both immigration and customs procedures, including a facial photograph and, for relevant foreign-national immigration procedures, fingerprints. When the kiosk finishes, follow the displayed routing and airport staff instructions.
The kiosk does not remove immigration examination. It also does not guarantee that you can pass customs without a staffed inspection.
Electronic customs declaration gates
Customs e-Gates are currently listed at seven airports: New Chitose, Narita, Haneda, Chubu Centrair, Kansai, Fukuoka and Naha.
At the electronic customs terminal, hold the IC passport and Visit Japan Web code over the scanner and follow the guidance. Each traveler completes the terminal step one by one. An IC passport is required to use the e-Gate itself, and Customs may direct any traveler to a staffed inspection desk.
The four-airport integrated-kiosk list and seven-airport customs e-Gate list are not interchangeable. Check the live official pages for your airport and terminal.
If you are still deciding between Tokyo airports, use Narita vs Haneda Airport Transfer Guide.
If the code will not display or scan
Do not stand at the scanner repeatedly refreshing the same broken state. Move through this order:
- Confirm the traveler and trip. A family member's code or an old trip code is the wrong starting point.
- Check whether both required sections are complete. An account alone does not create a usable arrival code.
- Open the live code on a stable connection. Airport Wi-Fi or roaming can be inconsistent, so do this before reaching the scanner when possible.
- Use a current screenshot. Confirm it was created after the last information change.
- Improve scan conditions. Raise screen brightness, remove glare, clean the screen and show the entire code without extreme zoom.
- Ask airport staff. Equipment and routing differ by terminal. Staff can direct you to the correct kiosk, desk or form.
- Switch to paper. Use a paper ED card and customs declaration when the digital route cannot be completed.
For connectivity choices before travel, compare Pocket Wi-Fi vs eSIM vs SIM in Japan.
Paper Plan B for immigration and customs
Paper is not a failure. It is the official fallback when the web service, phone or scanner cannot be used.
For foreign-national immigration, request the paper ED card and complete it as directed. The Immigration Services Agency says the paper record remains available for travelers who are not comfortable operating a smartphone. It asks travelers to fill the record in English or Japanese.
For customs, complete the paper Declaration of Accompanied Articles and Unaccompanied Articles. Japan Customs provides the current form online and states that the paper version remains usable. It can also be printed on A4 paper before travel.
Keep these boundaries in mind:
- paper forms do not remove the underlying immigration or customs questions;
- staff may still ask for clarification or inspect baggage;
- a companion may help you understand the process, but each traveler remains responsible for accurate information; and
- provide accurate answers and ask staff if you are unsure how to complete a field.

Do not confuse the arrival code with the tax-free code
Visit Japan Web also offers a tax-free shopping function for eligible foreign visitors. This is separate from the immigration/customs arrival code.
The National Tax Agency explains that participating tax-free stores can read a Visit Japan Web tax-free 2D code to receive passport-related information. Store participation and purchase eligibility vary, and the arrival code should not be presented as a substitute.
For the purchase rules, use Japan Tax-Free Shopping Guide 2026.
A final pre-flight check
Before leaving for the airport, confirm:
- you started from the Digital Agency's official page;
- no third party charged you for an arrival code;
- the traveler name and passport match the record;
- the arrival trip is current;
- immigration information is complete when applicable;
- the customs declaration is complete;
- each family member has an individual current code;
- old screenshots have been deleted after any correction;
- one current screenshot is available offline; and
- you know that paper forms are the Plan B.
The goal is not simply to “have a QR code.” The goal is to arrive with the correct code for the correct traveler, plus a reliable fallback if the digital route fails.
FAQ
Is Visit Japan Web mandatory for entering Japan?
No. Required immigration and customs procedures still apply, but the government recommends Visit Japan Web as an electronic submission route. Paper ED cards and customs declarations remain available.
Is Visit Japan Web free?
Yes. Japan Customs states that Visit Japan Web is free and that it does not charge a fee for customs procedures required on arrival. A site asking you to pay for an arrival QR code may be fake or a private assistance service.
Do immigration and customs use the same QR code?
Visit Japan Web unified the immigration and customs declaration 2D codes in January 2024. Complete the required sections and use the current arrival code for the correct traveler and trip.
Can I use a screenshot of the Visit Japan Web QR code?
Yes. Current immigration and joint-kiosk guidance permits a screenshot. If you change registered information, edit the record and create a new code before replacing the screenshot.
Does each family member need a QR code?
Each traveler needs an individual record/code for the airport procedure, and family or group members are processed one by one. An adult may manage a child's code, but one code does not process the whole family together.
What if my Visit Japan Web QR code does not appear?
Check that you selected the correct traveler and current trip and completed the relevant immigration and customs entries. Retry on a stable connection. If the code remains unavailable, use the official paper forms at arrival.
What if the QR code will not scan at the airport?
Open the current code, increase screen brightness, remove glare and confirm it is not an outdated screenshot. Ask airport staff for the correct terminal or desk. Use the paper route if the electronic procedure cannot be completed.
Is the Visit Japan Web tax-free QR code the same as the arrival code?
No. The tax-free shopping code is a separate Visit Japan Web function used at participating stores by eligible visitors. It is not a replacement for the immigration and customs arrival code.


Comments